Aloe Vera And Face Oils: How To Layer Correctly
Layering your favorite aloe vera and face oils isn’t rocket science, just the order of application.
Whether you have ever been confused about whether you should put on the Aloe Vera Gel before or after your preferred face oil, you are not alone. The layering process of any skincare may be confusing at first. This will be easy when you start practising it. This will also be easy when applied correctly; your skin will reward you with a soft, healthy glow. Let’s talk about how to layer Aloe Vera and face oils the right way, most easily and naturally possible.
****
Why Aloe Vera and Face Oils Make a Dream Team?
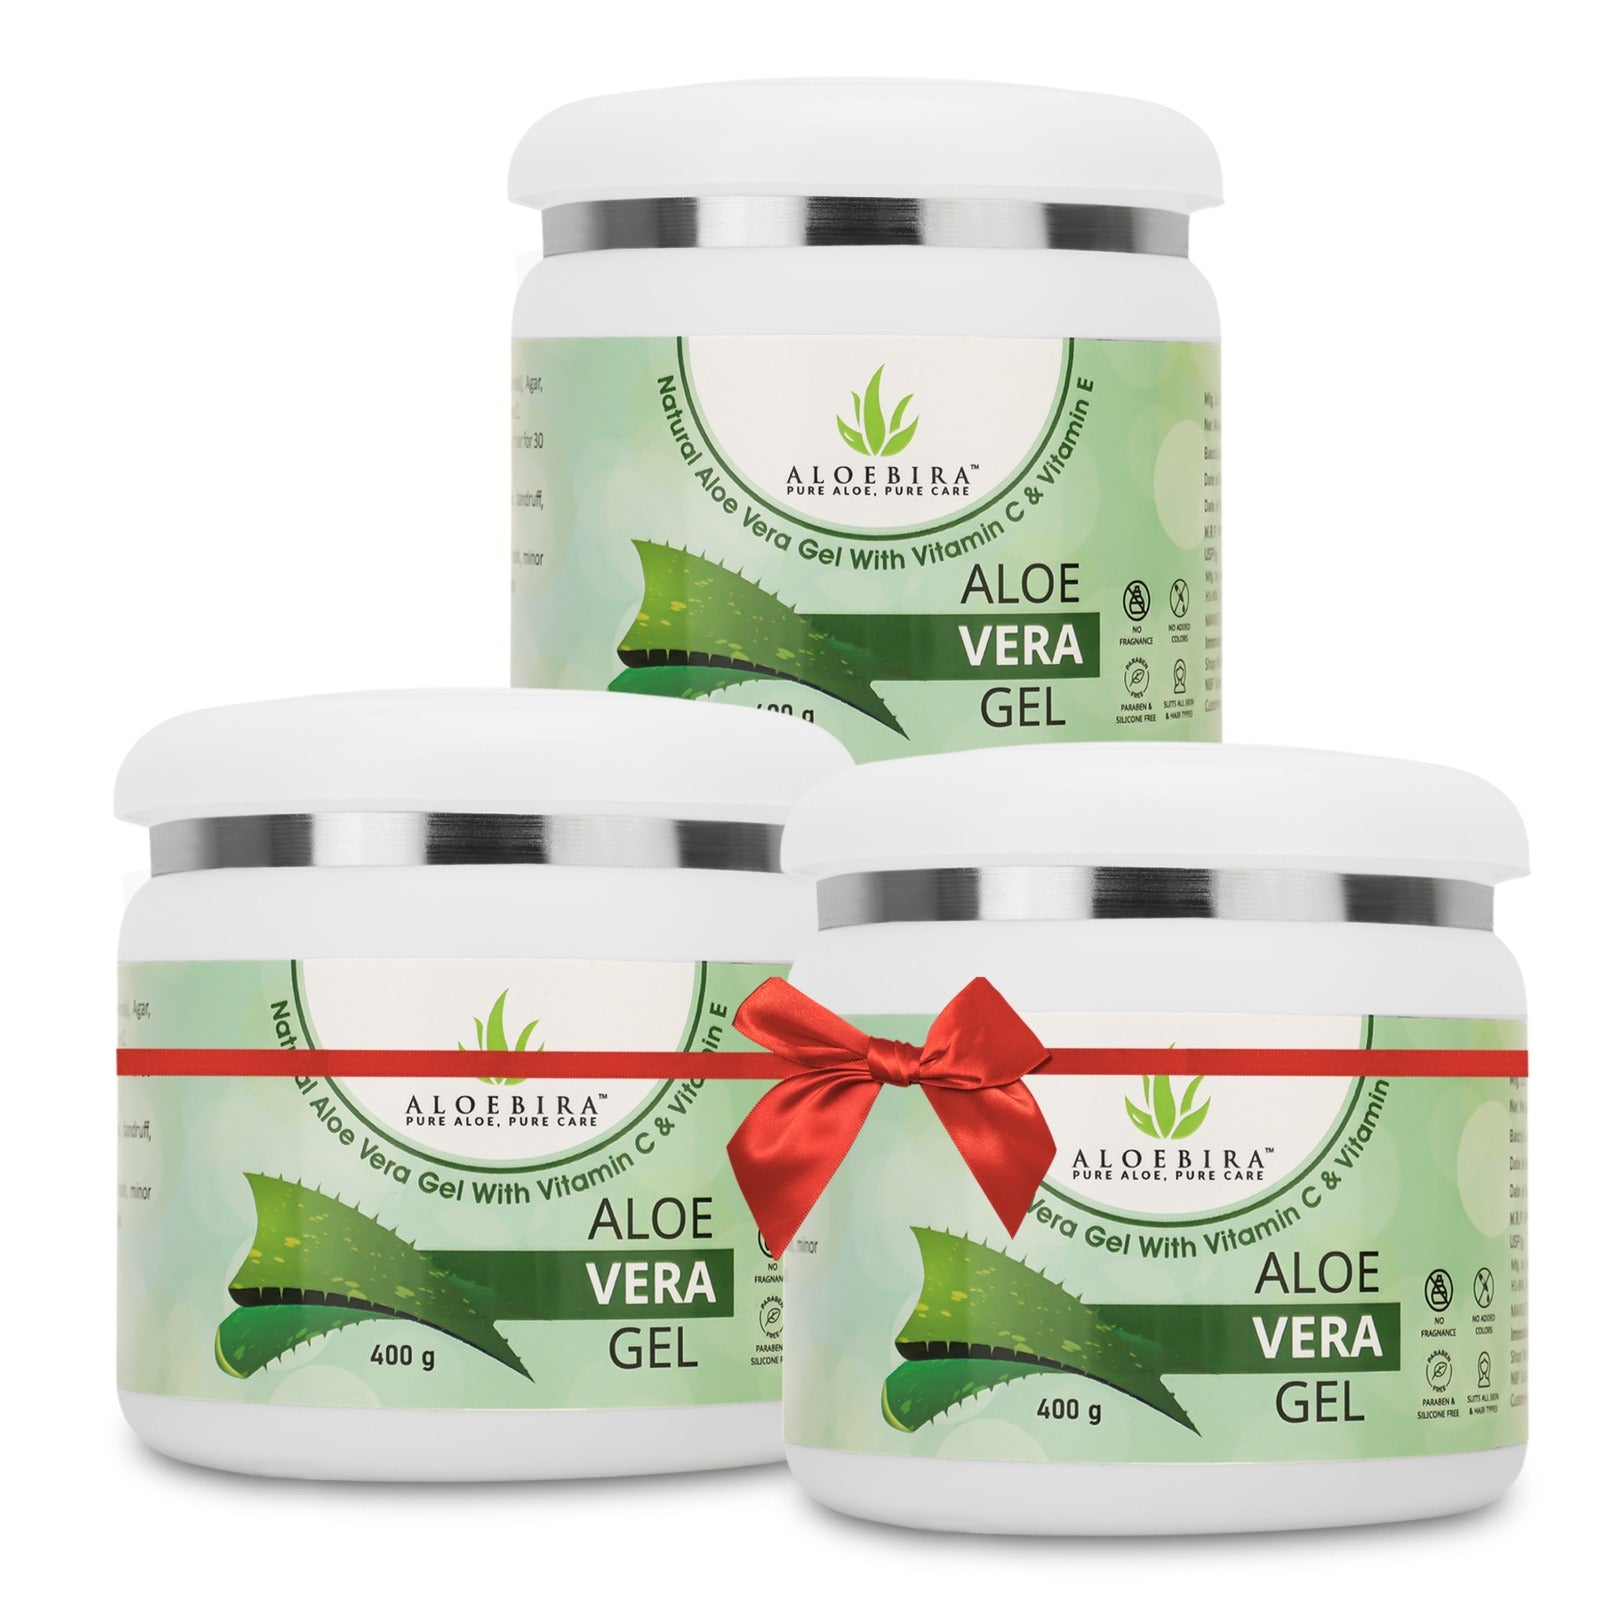
Natural Aloe Vera Gel is one of the most suitable things that you can apply to your skin. It is so light, non-greasy, and incredibly thirst-quenching. Think of that as a glass of water on your face. Instead, face oils seal in moisture and provide an additional layer of nourishment.
When you use both together first, Aloe Vera Gel, followed by your favorite oil, you achieve hydration and moisture. It’s like your skin gets to eat and drink at the same time! But if you are sensitive, then you can take time to understand what your skin needs.

****
Step 1: Start with Clean Skin
Wash your face and dry it thoroughly before applying anything. You do not want dirt or residual makeup to be mixed with your skincare items. A clear skin also makes Natural aloe Vera Gel easier to absorb, and thus you are able to enjoy the maximum benefits of this gel in terms of its soothing and healing qualities.
****
Step 2: Apply Aloe Vera Gel the Right Way
****
Now it’s time for your hero ingredient, Aloe Vera Gel for Hair Organic (yes, the same one can work for skin too if it’s 100% pure and chemical-free).
Scoop a small amount and spread it evenly on your face. You’ll notice it instantly cools and calms your skin. It also preps your skin for the next step, your oil.
If you have oily skin, you can use Aloe Vera Moisturizer for Oily Skin instead. It hydrates without making your skin greasy, which is perfect if you’re scared of using oils.
****
Step 3: Lock It In with Face Oil
After absorption of the Aloe Vera Gel (wait a minute or two), add some drops of your favorite face oil. Do not rub it into your skin, but press or tap it. Your skin will stay hydrated longer with a certain portion of the oil sealing in all the goodness of aloe. With any deep oil, such as rosehip or argan, you will enjoy the benefits of waking up with baby-soft, glowing skin.
****
Bonus Tip: Mix It with Vitamin E
Want to take it up a notch? This can be done with the help of Aloe Vera Gel with Vitamin E. Vitamin E is an anti-aging, color-enhancing, and collagen-building supplement. When you mix it with your oil, it gives your face that natural, glass-like shine without feeling heavy.
****
What About Hair?
Don’t forget you can also use Aloe Vera Hair Gel for soft, frizz-free locks. The same rules apply: first, aloe for hydration, then a few drops of hair oil to seal in moisture. It’s the perfect natural combo for shiny and manageable hair.
In addition to that, you can try Aloe Vera Hair Gel to get soft hair without frizz. The procedure is the same: firstly, aloe for moisturizing, then a couple of drops of the hair oil for sealing the moisture. This is the best natural pair to get the hair shiny and easy to manage.
****
Wrapping It Up
Layering your favorite aloe vera and face oils isn’t rocket science, just the order of application. Always begin with your Natural Aloe Vera Gel (for hydration, of course) and then follow with your oil (for sealing and nourishment). Whether it’s**** Aloe Vera Gel with Vitamin E for Skin, Aloe Vera Moisturizer for Oily Skin, or even Aloe Vera Hair Gel, you are demonstrating to your skin and hair the natural way to care for them. It’s as simple as that - easy and effective. Your skin will love you for it!